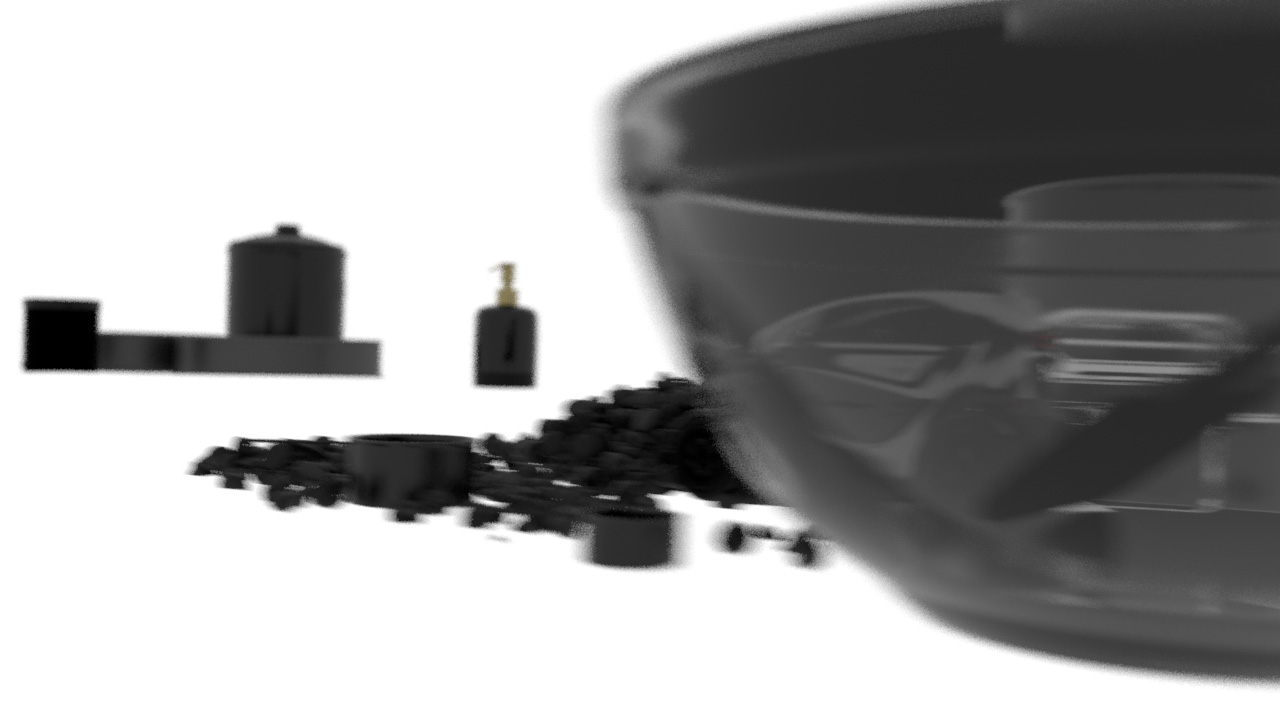
This was mostly just final tweaking of the comp. Cleaning up some mistakes and adding in some little adjustments here in there. If I had more time what I would do is probably revisit the objects. Look into pushing the texturing further, Also adding some small details. There was talk about adding a subtle flower layer for the car to drive over. I would maybe look into further set dressing such as adding objects and details (such as a power cord or pile of flower), and also possibly maybe going as far as making the whole scene CG.
I decided to darken down the backplate using a shadow pass I pulled from my reference geometry to give the scene a bit more drama and direction to the light. This also includes my distortion pass letting me adjust the backplate without affecting the transmission
Further relighting work. The background is the shadow catching geometry
I figfured out how to create a distortion pass using an stmap (essentially a UV map) generated in nuke and used as a backplate to be distorted by the glass
What I’ve worked on this week:
I fixed the lighting in the scene and darkened down the background
Turned on transmit AOV’s in all the glass shaders
Worked on the shader for the egg and the egg carton, they had too much sub surfacce
I moved the butter over the scratches on the table
Adjusted the black levels so it didn’t get too dark
I split the luts into a base lut which brings it into a more physically correct color space. Then I added a look lut to bring it into a closer aesthetic match to the other shots
I put detail on the bottom of the car
Fixed the floating objects
Fixed the reflection pass and shadows
I switched out the materials on the car with my own so that I could adjust them independently from my shot without affecting Clarissa’s shots
Fixed spatula issue where it was dark (it was simply the opaque switch in the glass material
Bottom of car
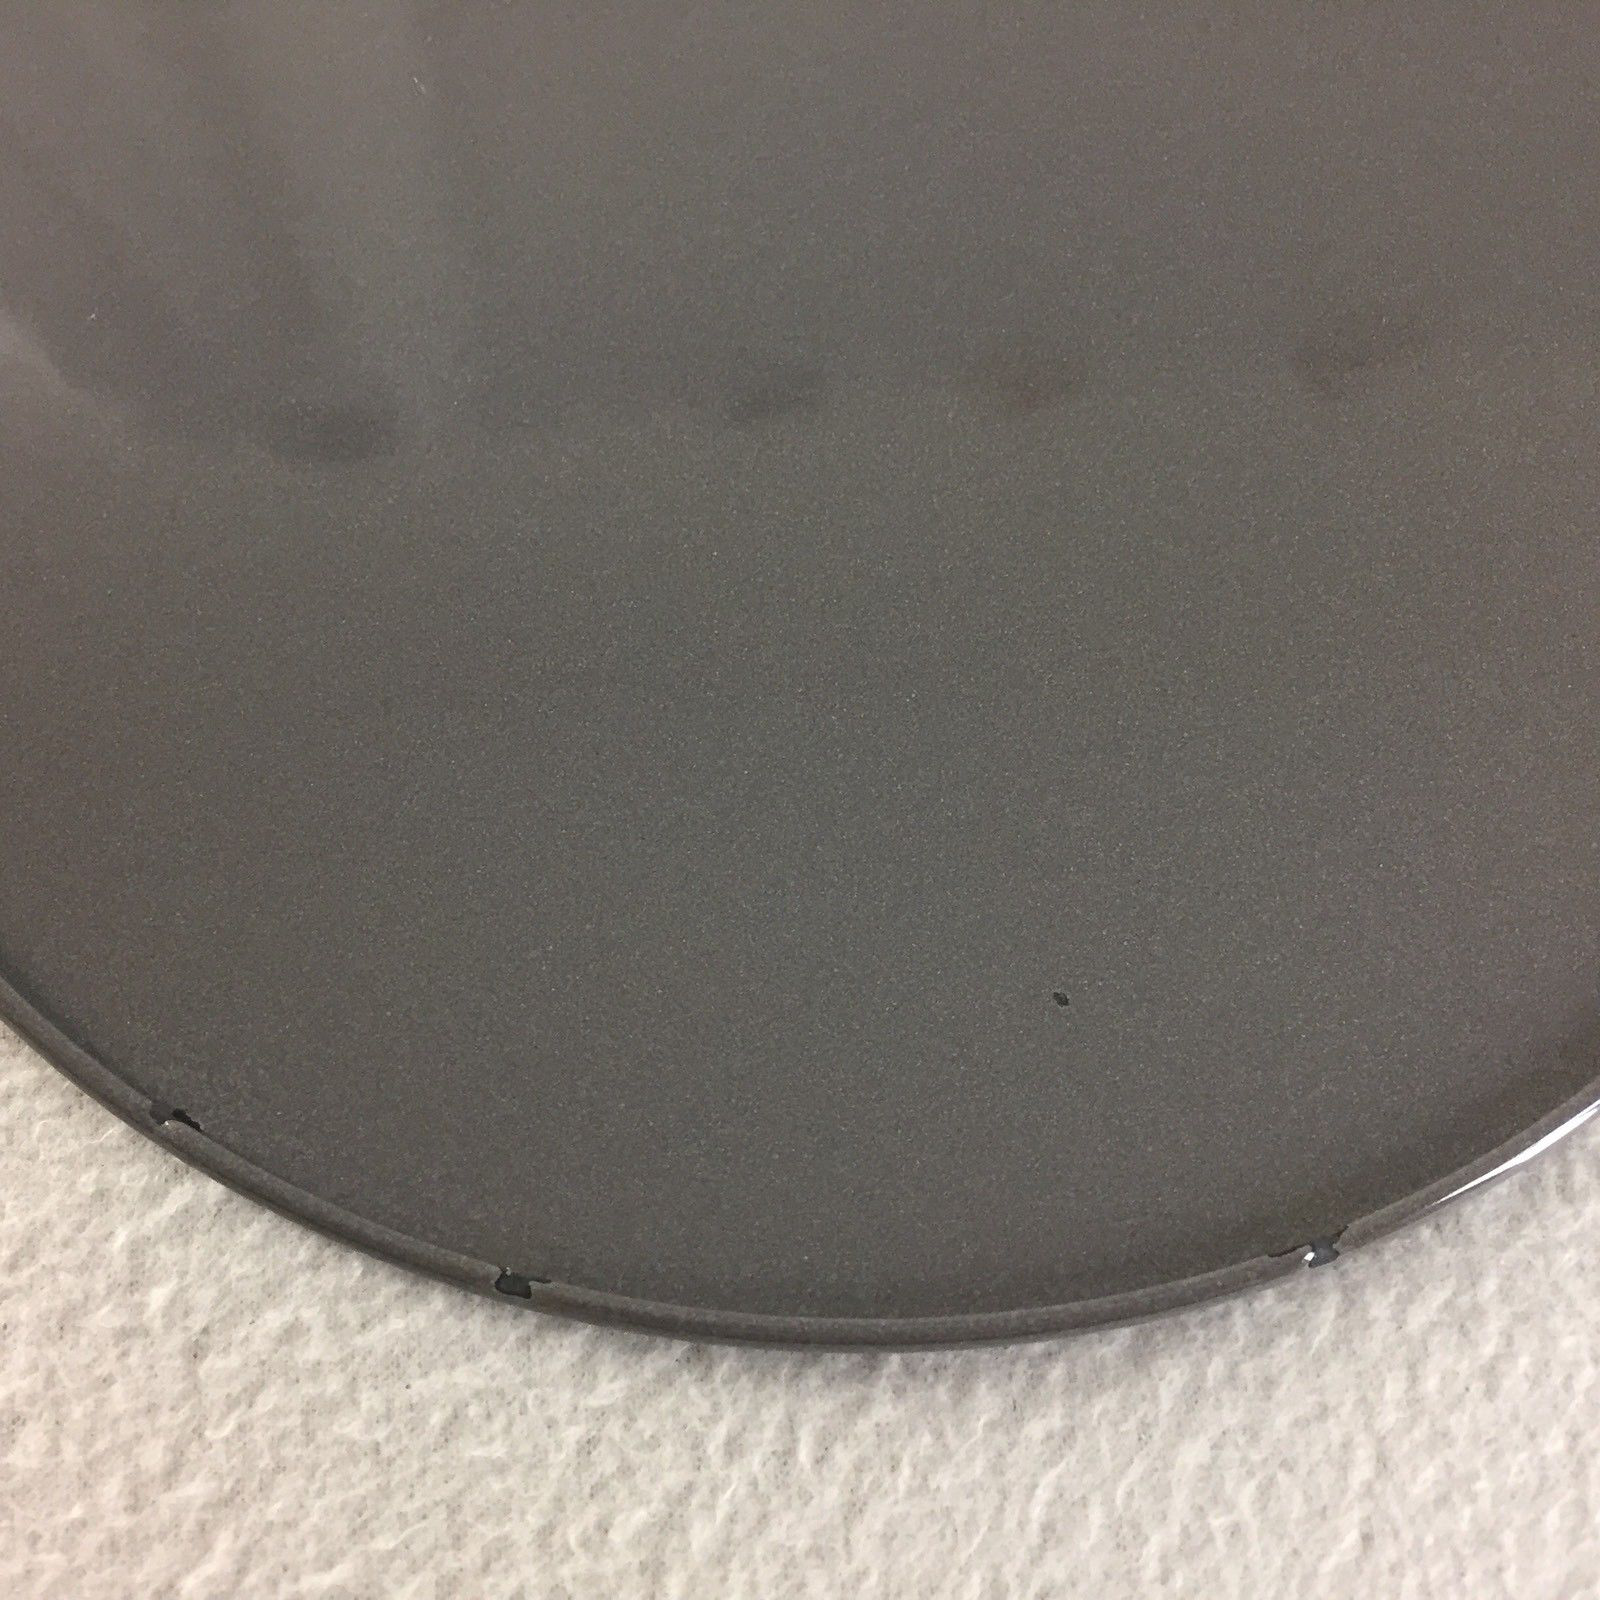
What the bump is based on
I had been having lots of issues with the reflection matte render layer that I was making. It consistently would not render. I initially assumed it was because I was assigning a material to aistandins. I managed to figure out that it was the car that was throwing the error. My render layer wasn’t correctly applying the material to it. I fixed it and now it works properly
Here is the first full comp. It still needs a lot of work. Some areas I want to work on is splitting out the AOV’s to give further adjustment. I just found out that there is a checkbox in the transmission settings for the material that transmits AOV’s. Because as you can see in the render there is an issue with the light balance. To try to correct that I adjusted the values on the render but that brought down the exposure of the glass so now it looks like tinted glass. I also want to look into the lighting more. The background objects are way too bright for the shot so I want to make sure to block them off. There is also a floating cap that needs to be brought down. I’m also working on an ID pass that goes through translucency so I can adjust objects through the glass. I wanted to use cryptomatte but it doesn’t seem to allow translucency. I also want to redo my shadow pass and reflectivity pass to account for the transmission. I also want to create a better mask for the reflectivity pass since its not completely clean or giving me the objects I need.
Spec Direct LPE
Spec Indirect LPE
I was working on using Light Path Expressions to get AOV passes that went through the glass bowl since that often broke the AOV’s. So I’m using the expression C<TS>* and then appending what ever pass I need. As you can see above it works for the spec direct but it seems to not work for spec indirect. I also found that once it was all layered up it that there were some values missing between the beauty and the LPE passes.
All the LPE Passes
I redid the scan of the counter so that we get a more accurate shadow catcher and delit the texture. I also modeled the sink since that was not coming through in the scan
I worked on doing color correction in Davinci Resolve. I tried to match everything to the central shot. I think it flows a lot better now, my worry is that the overall piece feels very dark.
Two edits that we are looking to use. We are between an above shot or a follow shot. We currently feel the above shot edits better. Below are stills that include the materials on the car. We are currently using Clarissa’s materials but we’ll transition over to using two separate materials for each shot.
I did some tracks of two new possible camera shots that we’re playing with for our edit to show off the jump. Currently it is still previz animation that will need some refinement but we wanted to get a sense of how it would fit. I think we’re leaning towards the above moving shot.
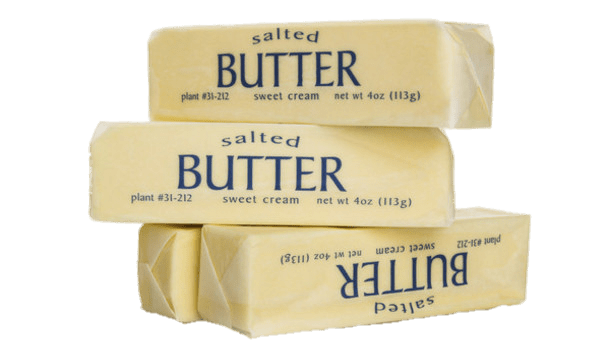
I worked on the shader for the butter. I think its feeling a lot closer to actual butter. Looking at it now I feel the shader for the wax paper looks closer but I think it might be too translucent. I also want to work on making it feel less perfect.
Here is the turntable for the new materials. Some things I’d like to still work on are the butter and the soap dispenser. For the butter I feel I’m not quite getting the results that I would like. Some things I want to try are re-doing the wrapper so that it more closely matches what an actual wrapper would do. I would also like to make it a little less perfect so add some displacement and bump. It was also suggested to me by Bridget to try using a mix shader to get the effect all in one rather than with two pieces of geo. For the soap dispenser I want to fiddle with the proportions since the top piece feels small on the spout for the kind of scale we want for our scene.
Material Properties:
Reference:
Textures:
I redid the scan of the egg carton since I had some issues with the light changing during the scan which caused a lot of stitching errors. Then I scanned this one at much higher settigings and decimated and re-uv’d the mesh in ZBrush, projecting the detail back on back in Photoscan.


